The Paper System: A Simple Way to Organise Your Children's Artwork

When children are learning to write, they can get through an incredible amount of paper at home. Then, just as you've found somewhere to store it all, the end of the school year arrives and you're asked to send in empty bags so they can bring home every painting, worksheet and masterpiece they've created during the year.
If you're a parent, you'll probably know the feeling. Suddenly you're faced with hundreds of paintings, worksheets, collages and drawings, all lovingly created... and you're left wondering:
What exactly am I supposed to do with all of this?
Every now and again, a child creates something that they've poured real time, concentration and pride into. Those are the pieces that naturally find a place on the fridge, the wall or in a frame.
But what about the other hundreds?
It's About the Process, Not the Product
Before I explain our system, I think it's important to say something.
I genuinely believe that the greatest value of making art lies in the process of creating it (I made a video to explain why - you can watch it here).
The experimenting, imagining, problem-solving, concentrating and expressing themselves is where the real benefit comes from. Children don't gain more from making art simply because every single piece is kept forever.
That said, I do think it's important that their work is valued. Displaying it for a while and giving children some say over what happens to it afterwards shows that their creativity matters.
Over the years we've developed a simple system that keeps the paper under control without making anyone feel that their artwork isn't appreciated.
Step 1: Create a Display Space
In our playroom we have a section of wall with a few lengths of string stretched across it like washing lines, each with a collection of pegs.
Whenever the children bring home artwork from school—or create something at home—it goes straight onto the display.
If you don't have much wall space, a single piece of string hung vertically with pegs attached works just as well.
I like using pegs because:
Artwork can be changed quickly without damaging the walls
Children can swap pieces independently
Each peg can hold several pictures at once
It creates a constantly changing gallery of their latest creations

Step 2: Sort Regularly
At regular intervals (usually every school holiday), we clear the display and make a separate pile for each child.
They then sort through their own artwork using three simple categories.
Keep the Best
First, they choose a handful of favourite pieces that they're especially proud of (or that are particularly sentimental).
These go into their 'best pictures' folder.
Recycle or Reuse
Next, they decide which pieces they've finished with.
These don't necessarily go straight into the recycling—they usually go into our scrap paper box first.
Keep in Their Room
Anything else they still want to keep can go into their bedroom, where they can display it, store it in a folder or simply tuck it away for a while.
Giving children ownership of these decisions has been surprisingly successful. They're often much happier to let artwork go than we expect.
The Best Pictures Folder
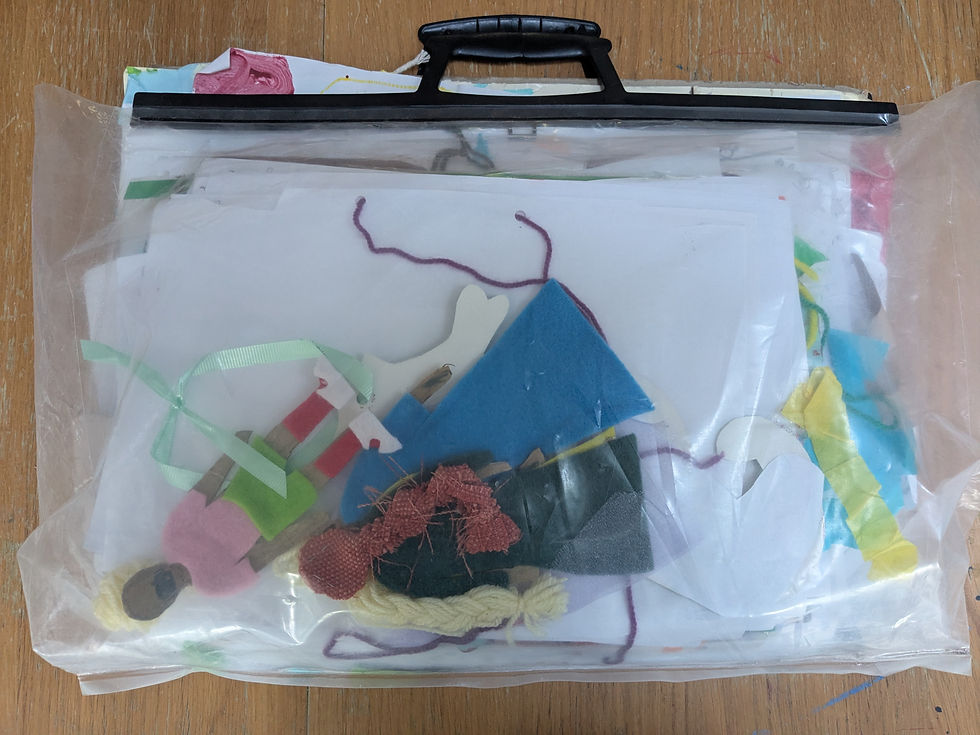
Each of my children has an A2 art portfolio case that lives in a cupboard.
This is reserved for their favourite pieces only.
Because only the very best artwork is added, the folder never becomes overwhelmingly full (although it's still worth having a sort through every year or so!)
It has become a lovely record of how their drawing, painting and creativity have developed over time.
The Scrap Paper Box
Under our craft table lives a simple plastic crate full of scrap paper.
Rather than throwing unwanted artwork straight into the recycling, we give it one more chance to be useful.
The craft table is often covered with half-finished projects, experiments and mysterious bits of paper. If I need to clear the table quickly, everything gets gathered into this box.
That way, if one of the children suddenly remembers they were halfway through creating their "best picture ever," they know exactly where to find it.
We encourage the children to use paper from the scrap box before reaching for a fresh sheet whenever possible. It's a simple habit that reduces waste and helps them see materials as valuable resources.
Our scrap paper gets used for all sorts of things, including:
Shopping lists
Keeping score during games
Practising spellings
Testing pens
Quick sketches
Origami
Papier-mâché
Collage projects
Craft experiments
I also regularly dip into the box for my own artwork.
Children's drawings, handwriting and painted marks often find their way into my junk journals (see separate post on The papers in my sketchbook), collage work and image transfer projects. Those accidental layers of family life add something wonderfully personal that you simply can't buy.

A Simple System That Works
No system will completely stop the flow of paper that comes home with children, but this one has worked well for us.
It celebrates creativity without expecting us to keep every single piece forever.
The artwork gets displayed, appreciated, sorted by the children themselves, and whenever possible, given a second life before finally being recycled.
For me, that feels like a good balance between valuing the creative process, preserving the memories that matter most and keeping the mountain of paper under control.


Comments